Introduction
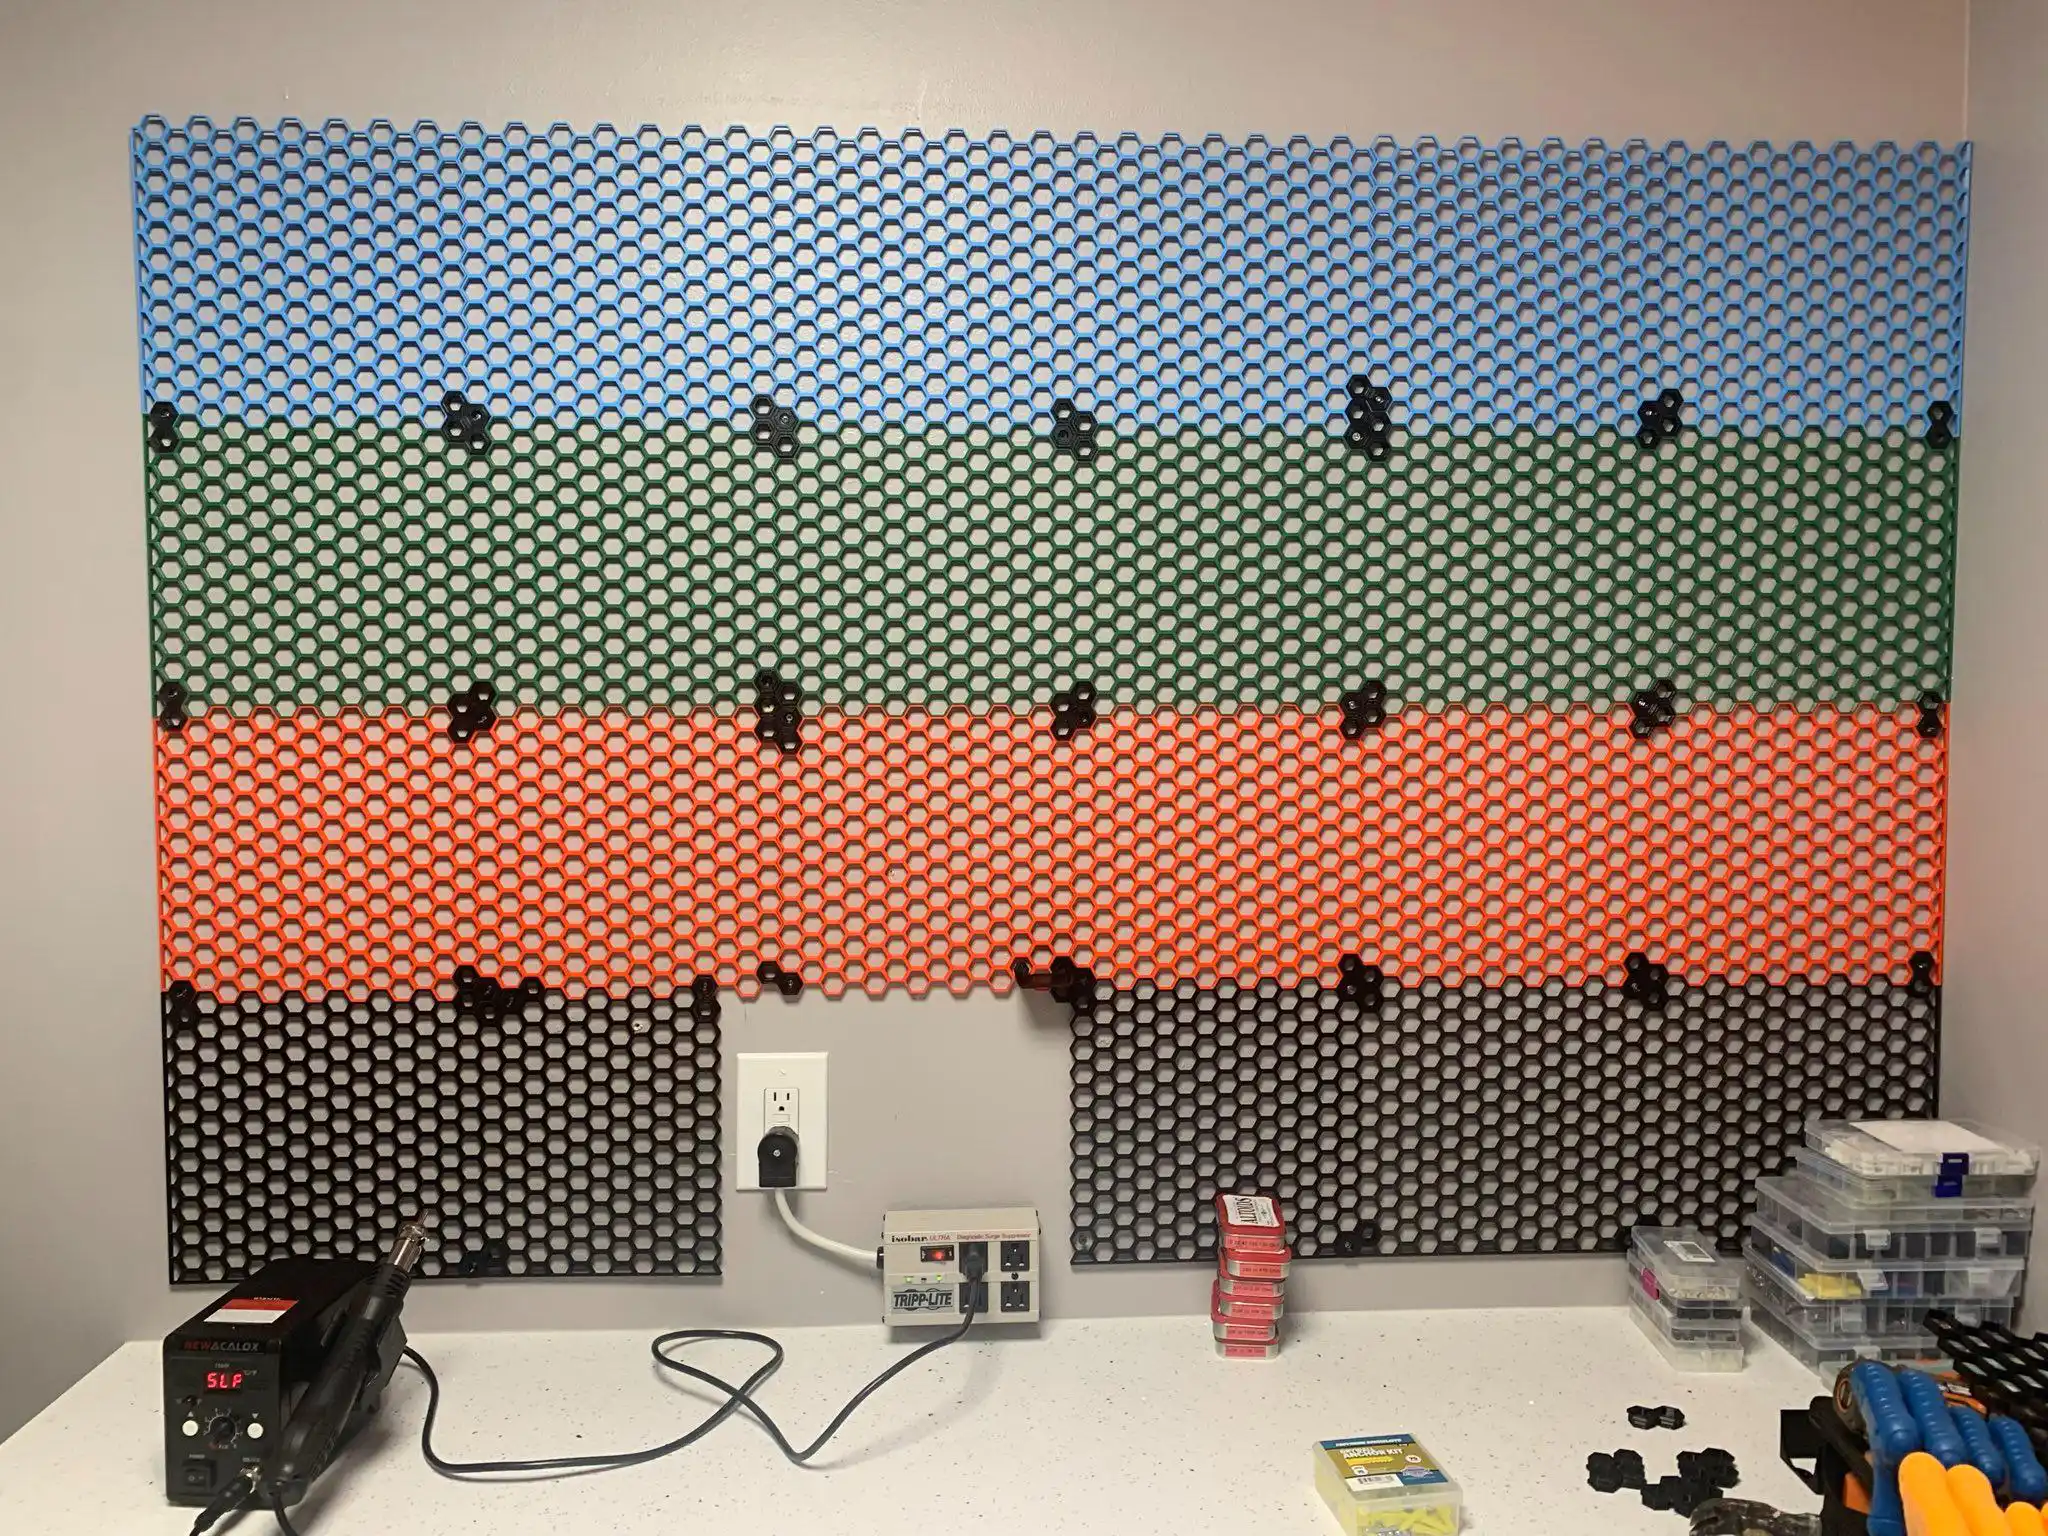
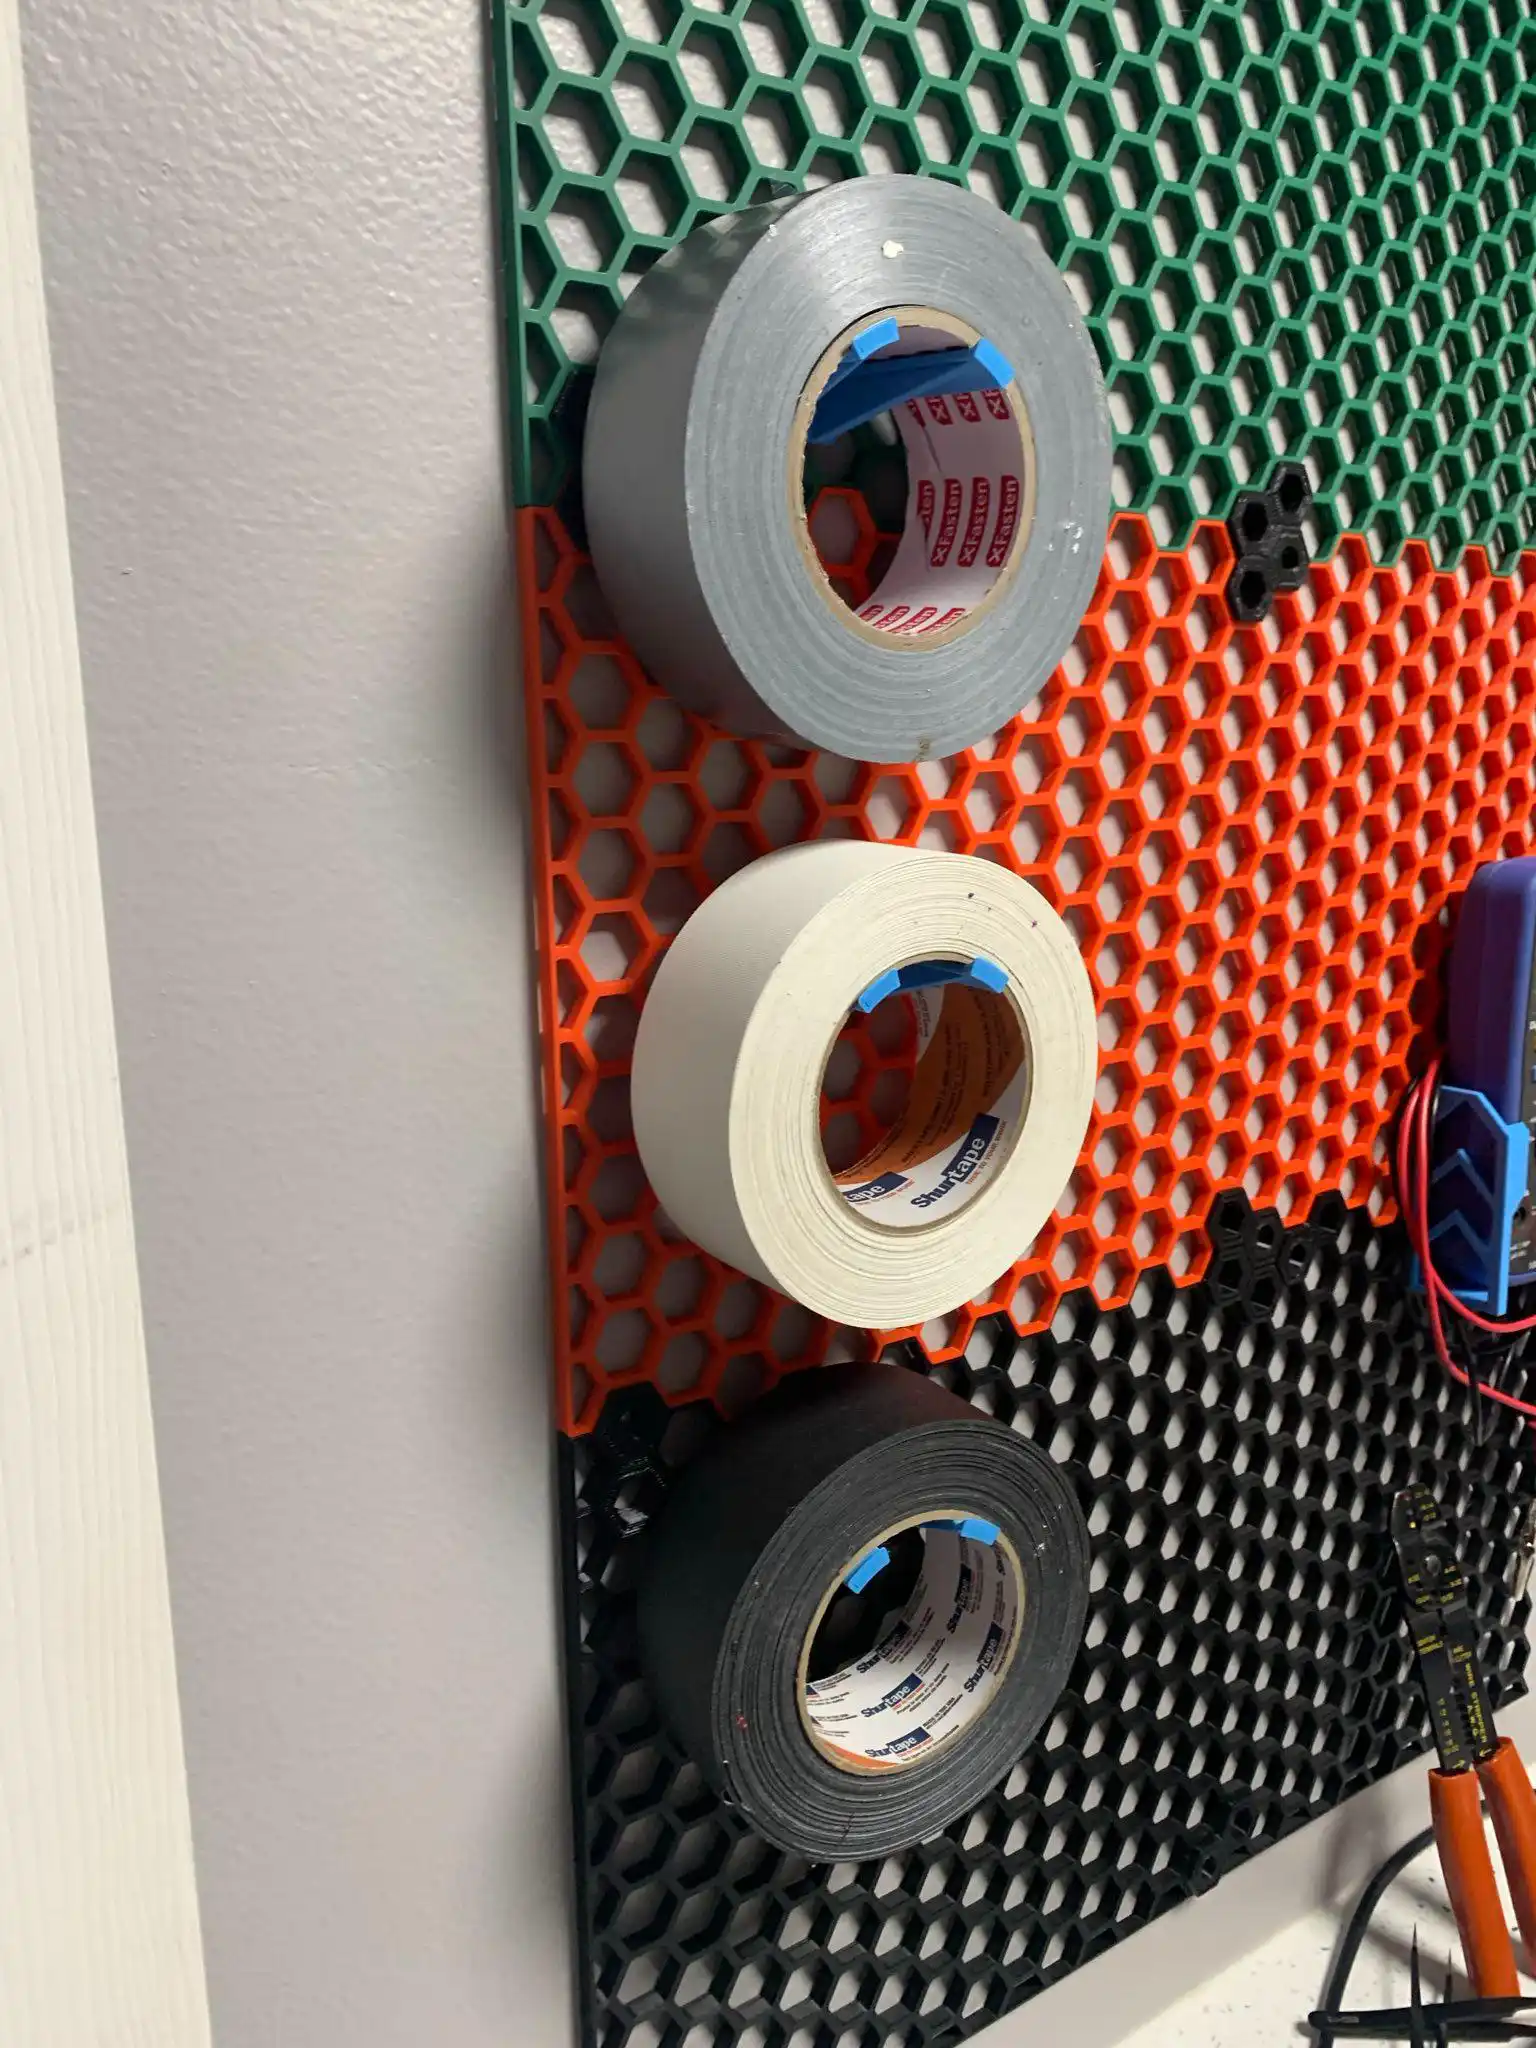
If you’ve read any of my previous blog posts, you will know that I am obsessed with saving filament. And so when I started looking for accessories to install on my honeycomb wall, I quickly found myself wanting to make some improvements to what I found in the wild. This my parametric design in Fusion360 to hold rolls of tape on honeycomb storage wall. The results are presented below. Scroll down to the bottom to download the 3MF and the Fusion 360 parametric file.
This next design is a wall mount for my beloved Shurtape P-628 Professional Gaffer’s Tape. If you’ve ever worked on a real film or TV set, you know the only thing that gets more respect than the Assistant Director is gaff-tape. REAL gaff-tape is the big brother to the duct-tape that McGuyver made famous. It’s cloth based so you can rip it with your hands, yet strong enough to tape things to hollywood sets, and yet gentle enough that it doesn’t leave residue. If you haven’t got any gaffer’s tape in your kit, do yourself a favor and pick some up. And yeah, it’s expensive.

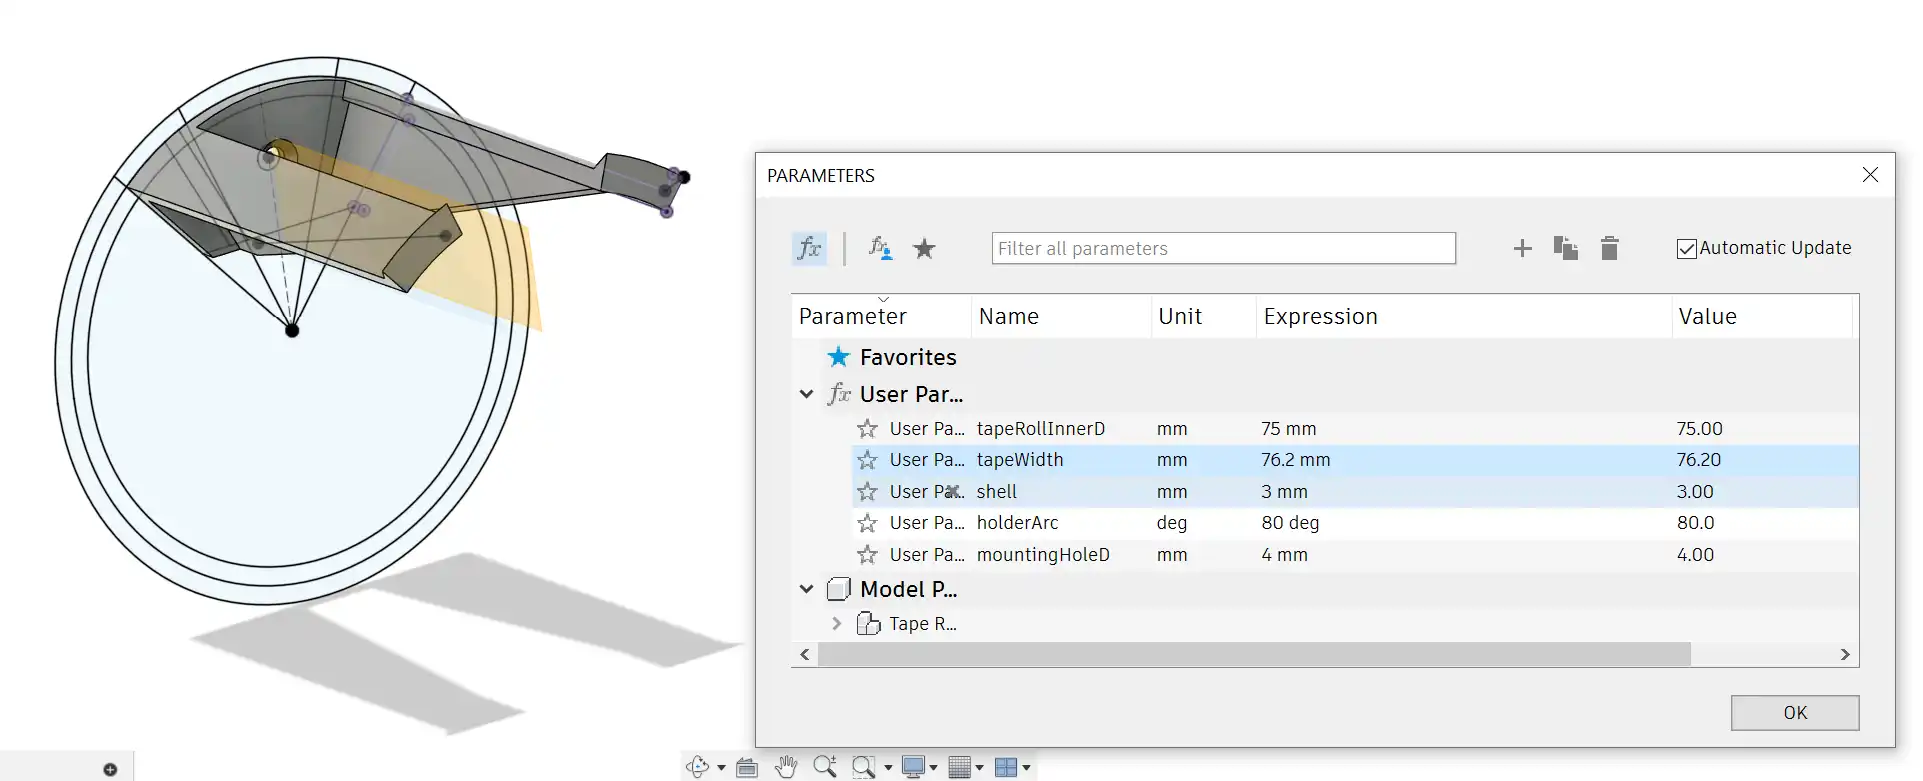
But enough about gaffer’s tape. The point is, my design works with any tape with a 75 mm hole in the middle of the roll (pretty standard size). Duct tape, painter’s tape, masking tape, packing tape should all fit. I pre-made two versions of the tape holder, one for 2" tape and one for 3" wide tape. In any case, the model is parametric, so if you have Fusion360, you can make this work for wider rolls of tape.
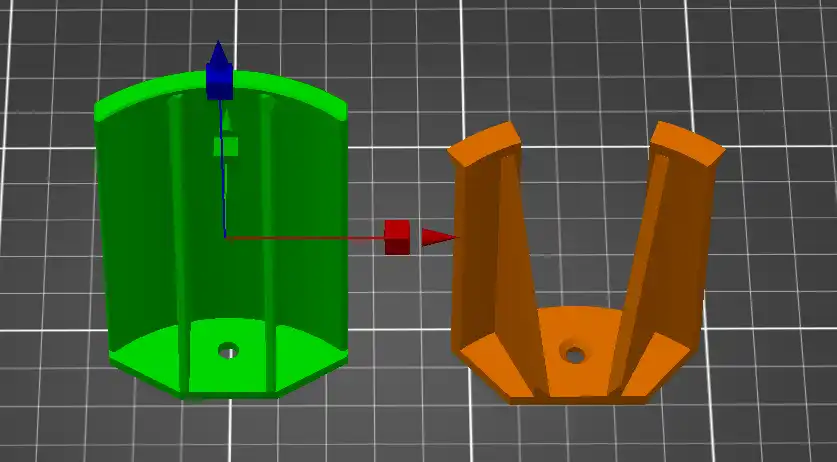
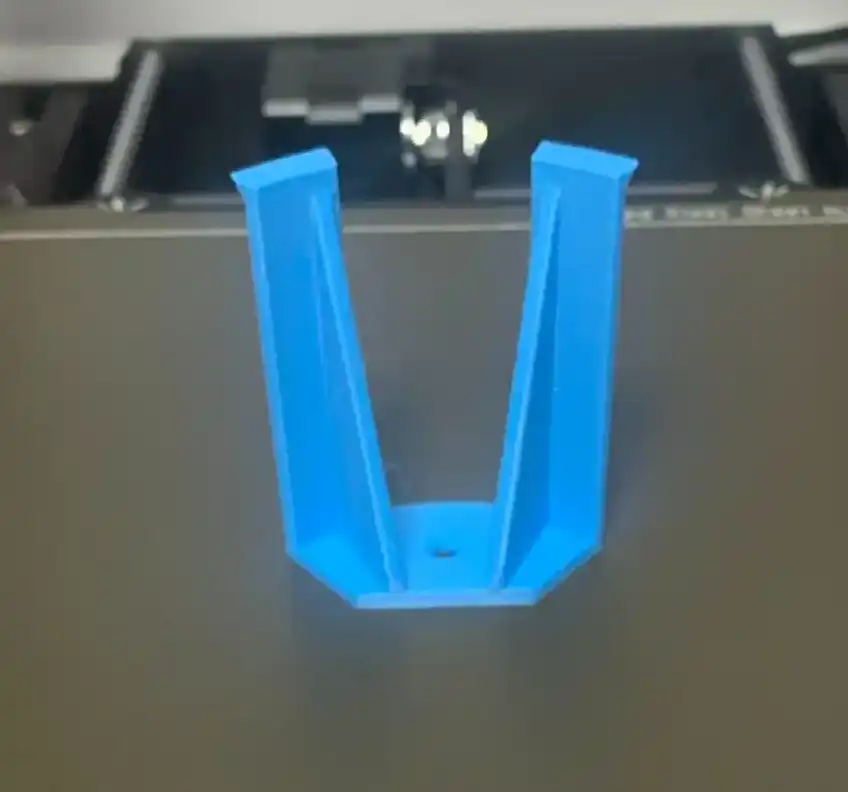
The existing designs I found were actually pretty good. I just made a couple of tweaks. First, I chamfered the edge of the lip that holds the roll on. Why did I chamfer it? Because this is NoSupports, and we don’t like support material if we can help it. The chamfered lip is self supporting, wheras a flat lip requires support. The second tweak was to remove some material from the center of the holder. The two substantial gussets underneath the holder are doing all the real heavy lifting, so the center section isn’t needed for strength. Oh and I chamfered the mounting hole to fit a M3 or #6 countersunk machine screw. Here’s a before and after comparison in PrusaSlicer.
Filament Savings
It doesn’t seem like a huge difference, but it’s actually a big percentage improvement in filament usage. The original takes 19g of filament, though since the overhanging lip has collapsing overhangs it really should be printed with supports, which brings the total filament used to 24g. My version, which requires no supports at all, uses just 10.5g of filament, a 56% savings. You’re probably wondering, are we really obsessing over 13g of filament? The answer is Yes. Yes we are. That’s what this blog is about. Doing more with less. In any case, I’m printing at least 3 of these hangars for my wall, so that’s a savings of almost 40g total.
Chances are, if you're here, you play tabletop games. So hopefully you'll like Waddle Waddle, a brand new penguin-themed tabletop game that I created using photos of penguins that I took while in Antarctica. If you printed one of my 3D designs, please check out Waddle Waddle on GameFound.
Mounting
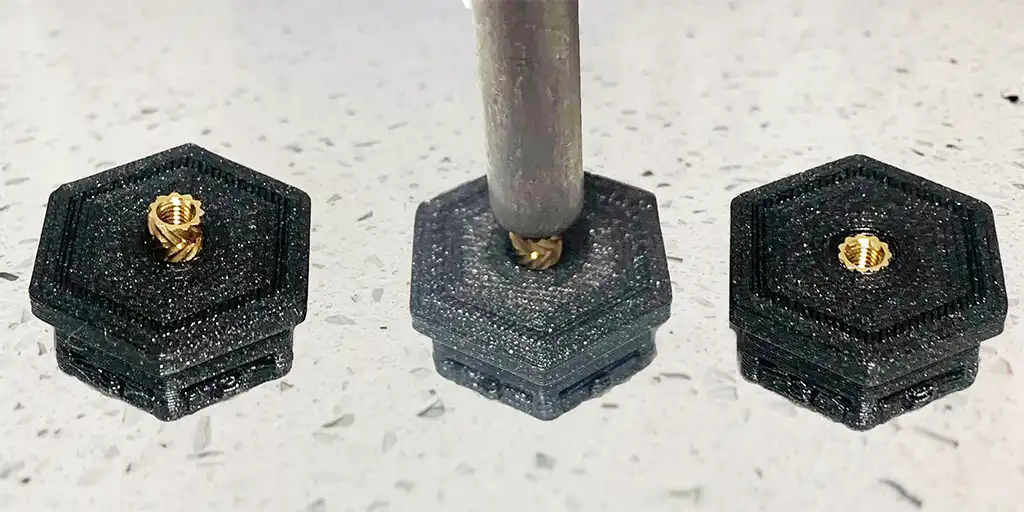
Once you’ve printed the tape holder, if you’re going to mount it to honeycomb storage wall, you’re going to also need to print a hex mount. There are numerous different honeycomb storage wall hex mounts out there, but my favorite style uses a Ruthex Threaded Insert. Ruthex inserts come in different sizes. The M3 (metric 3mm) size is perfect for this application.
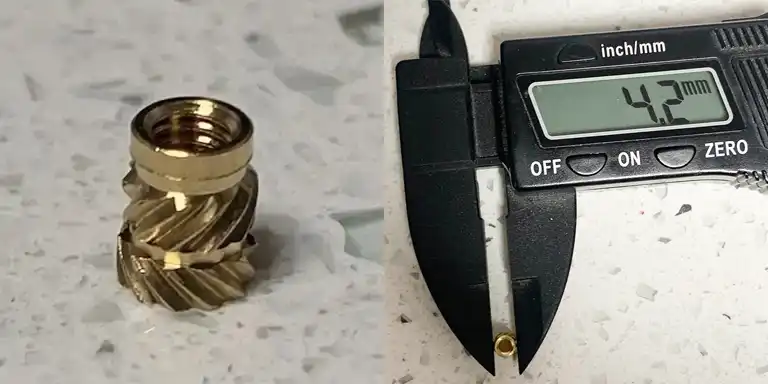
Ruthex inserts are great because they are precision milled to have nice sharp edges and you “heat-set” them into your 3D printed part in seconds using a soldering iron. Once set, the sharp knurling on the insert keeps them locked in place. They are much more robust than hex nuts. The M3 style is threaded on the inside with M3 threads. You’ll also need some M3 machine screws, like these Uxcell M3 x 8mm Countersunk machine screws.
I use this 3D printable hex mount on printables.com, designed by Martin Majewski. Print these face down on your bed, so that the back of the hex mount is facing up; no supports needed. 0.2mm to 0.3mm layer height works well.
To heat-set the Ruthex insert, I first cold-press it in a little ways using an awl, just enough so it seats. Then I heat my soldering iron to about 325F and slowly press the insert down into the hole. If your soldering iron is too hot, the plastic will liquify and the insert will want to sink all on its own. If your soldering iron temperature is just right, it will take a few seconds to slowly push in place, allowing you to make sure it’s flush and level.
Printing Times
| Printer | Nozzle Size | Layer Height | Print Time |
|---|---|---|---|
| Mk3s | 0.4mm | 0.3mm | 56 min |
| Mk3s | 0.6mm | 0.4mm | 34 min |
| XL | 0.6mm | 0.4mm | 38 min |
| XL | 0.8mm | 0.55mm | 25 min |
Print Settings
Print this design at 100% infill. There’s little to be gained with lower infill settings here. There’s no big, solid chunks. I think this design will be fine with PETG or PLA.
Also definitely ensure your filament is nice and dry before printing by using a filament dryer. I use the EasyDry dryer from EIBOS. I like it because it has a central hub to support the filament roll, which I think works better for cardboard spools, which can hang up on dry boxes that have rollers on the bottom.

For any strings that do show up, I use the hot air gun from my NEWALCOLOX Rework Solder Station. It comes with several fine tips that make it easy to direct hot air at thin wisps of filament. It’s kind of soothing to watch them curl up.

Downloads
The first download, which is for the 3MF files, includes both a 2 inch and a 3 inch version of the tape holder. If you download the Fusion360 version, just edit the tapeWidth parameter to control the size.
| Item | Download Link | |||
|---|---|---|---|---|
 |
|
|||
|
|
This work is released under the CC-BY-NC-ND-4 International License
How To Support Me
Please check out Waddle Waddle, my penguin-themed tabletop game that's perfect for family game night. It's both fun AND educational. It's filled with dozens of great photos of penguins that I took while in Antarctica. It plays 2-6 players and is great for players 9 and up.
My designs are all designed to minimize filament usage, and that directly saves you MONEY, and many hours of print time. Most of these designs take two or three generations to perfect. You can show your thanks for me saving you money and many HOURS of your time making by a small donation to defray the cost of professional software licenses, printer wear and tear, and the filament I use to develop this content for you:
As an Amazon Associate I earn from qualifying purchases. By purchasing the products that I recommend through affiliate links you directly support the creation of more great content at no cost to yourself. I only recommend products that I use myself. You can read more about it here: Affiliate disclosure.