Introduction
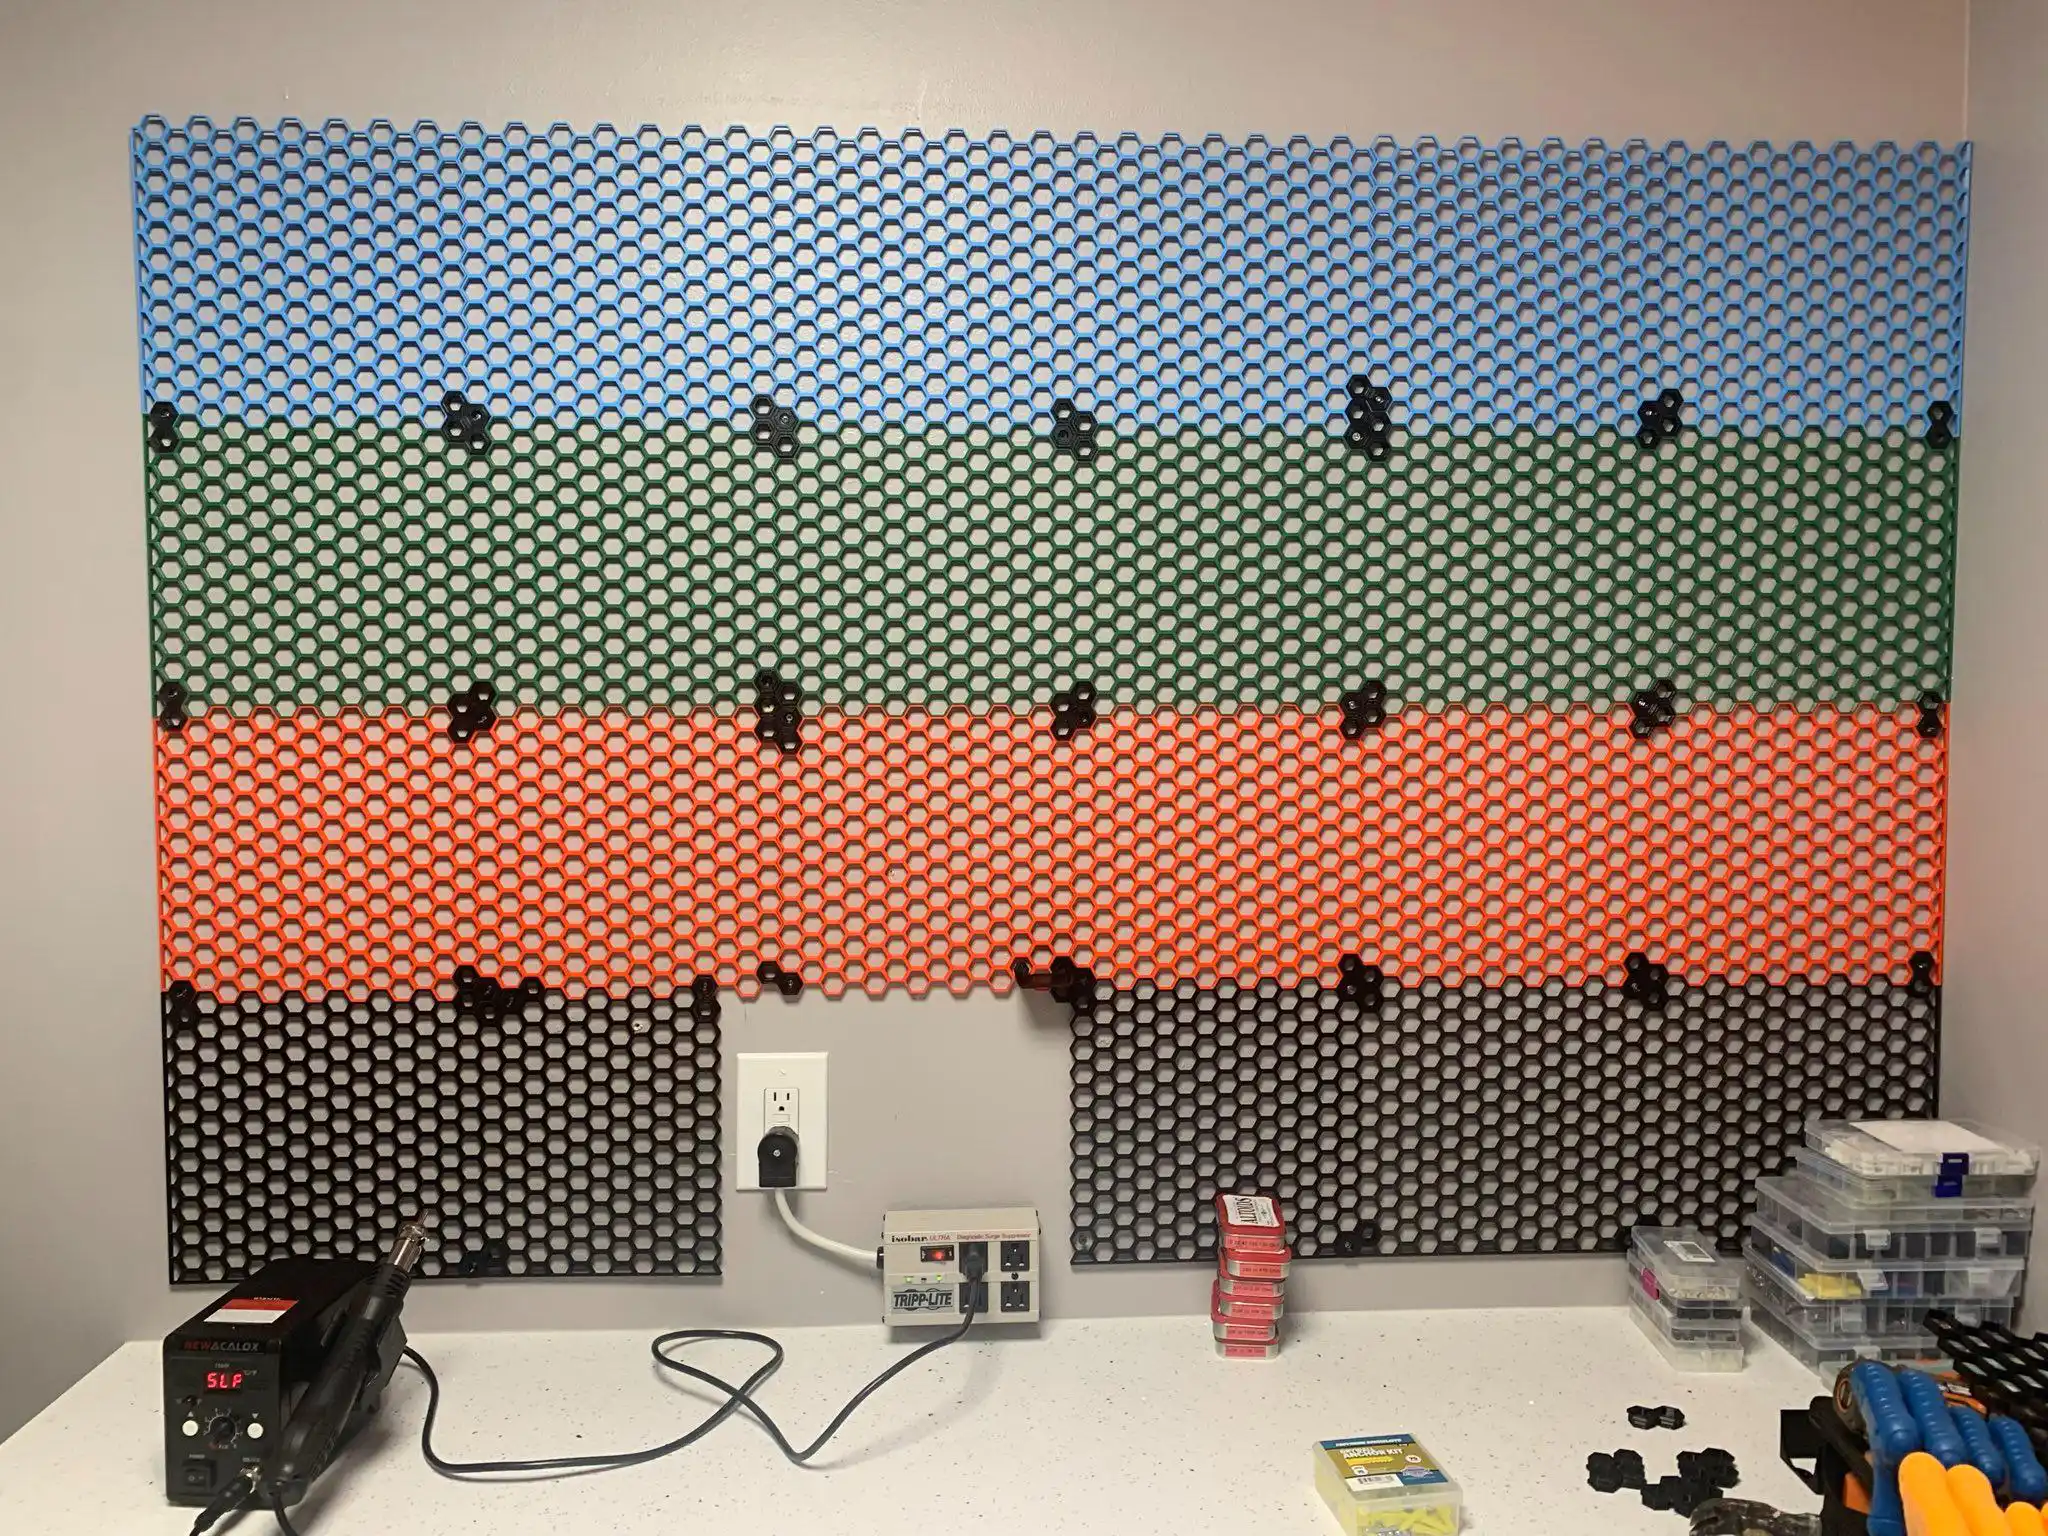
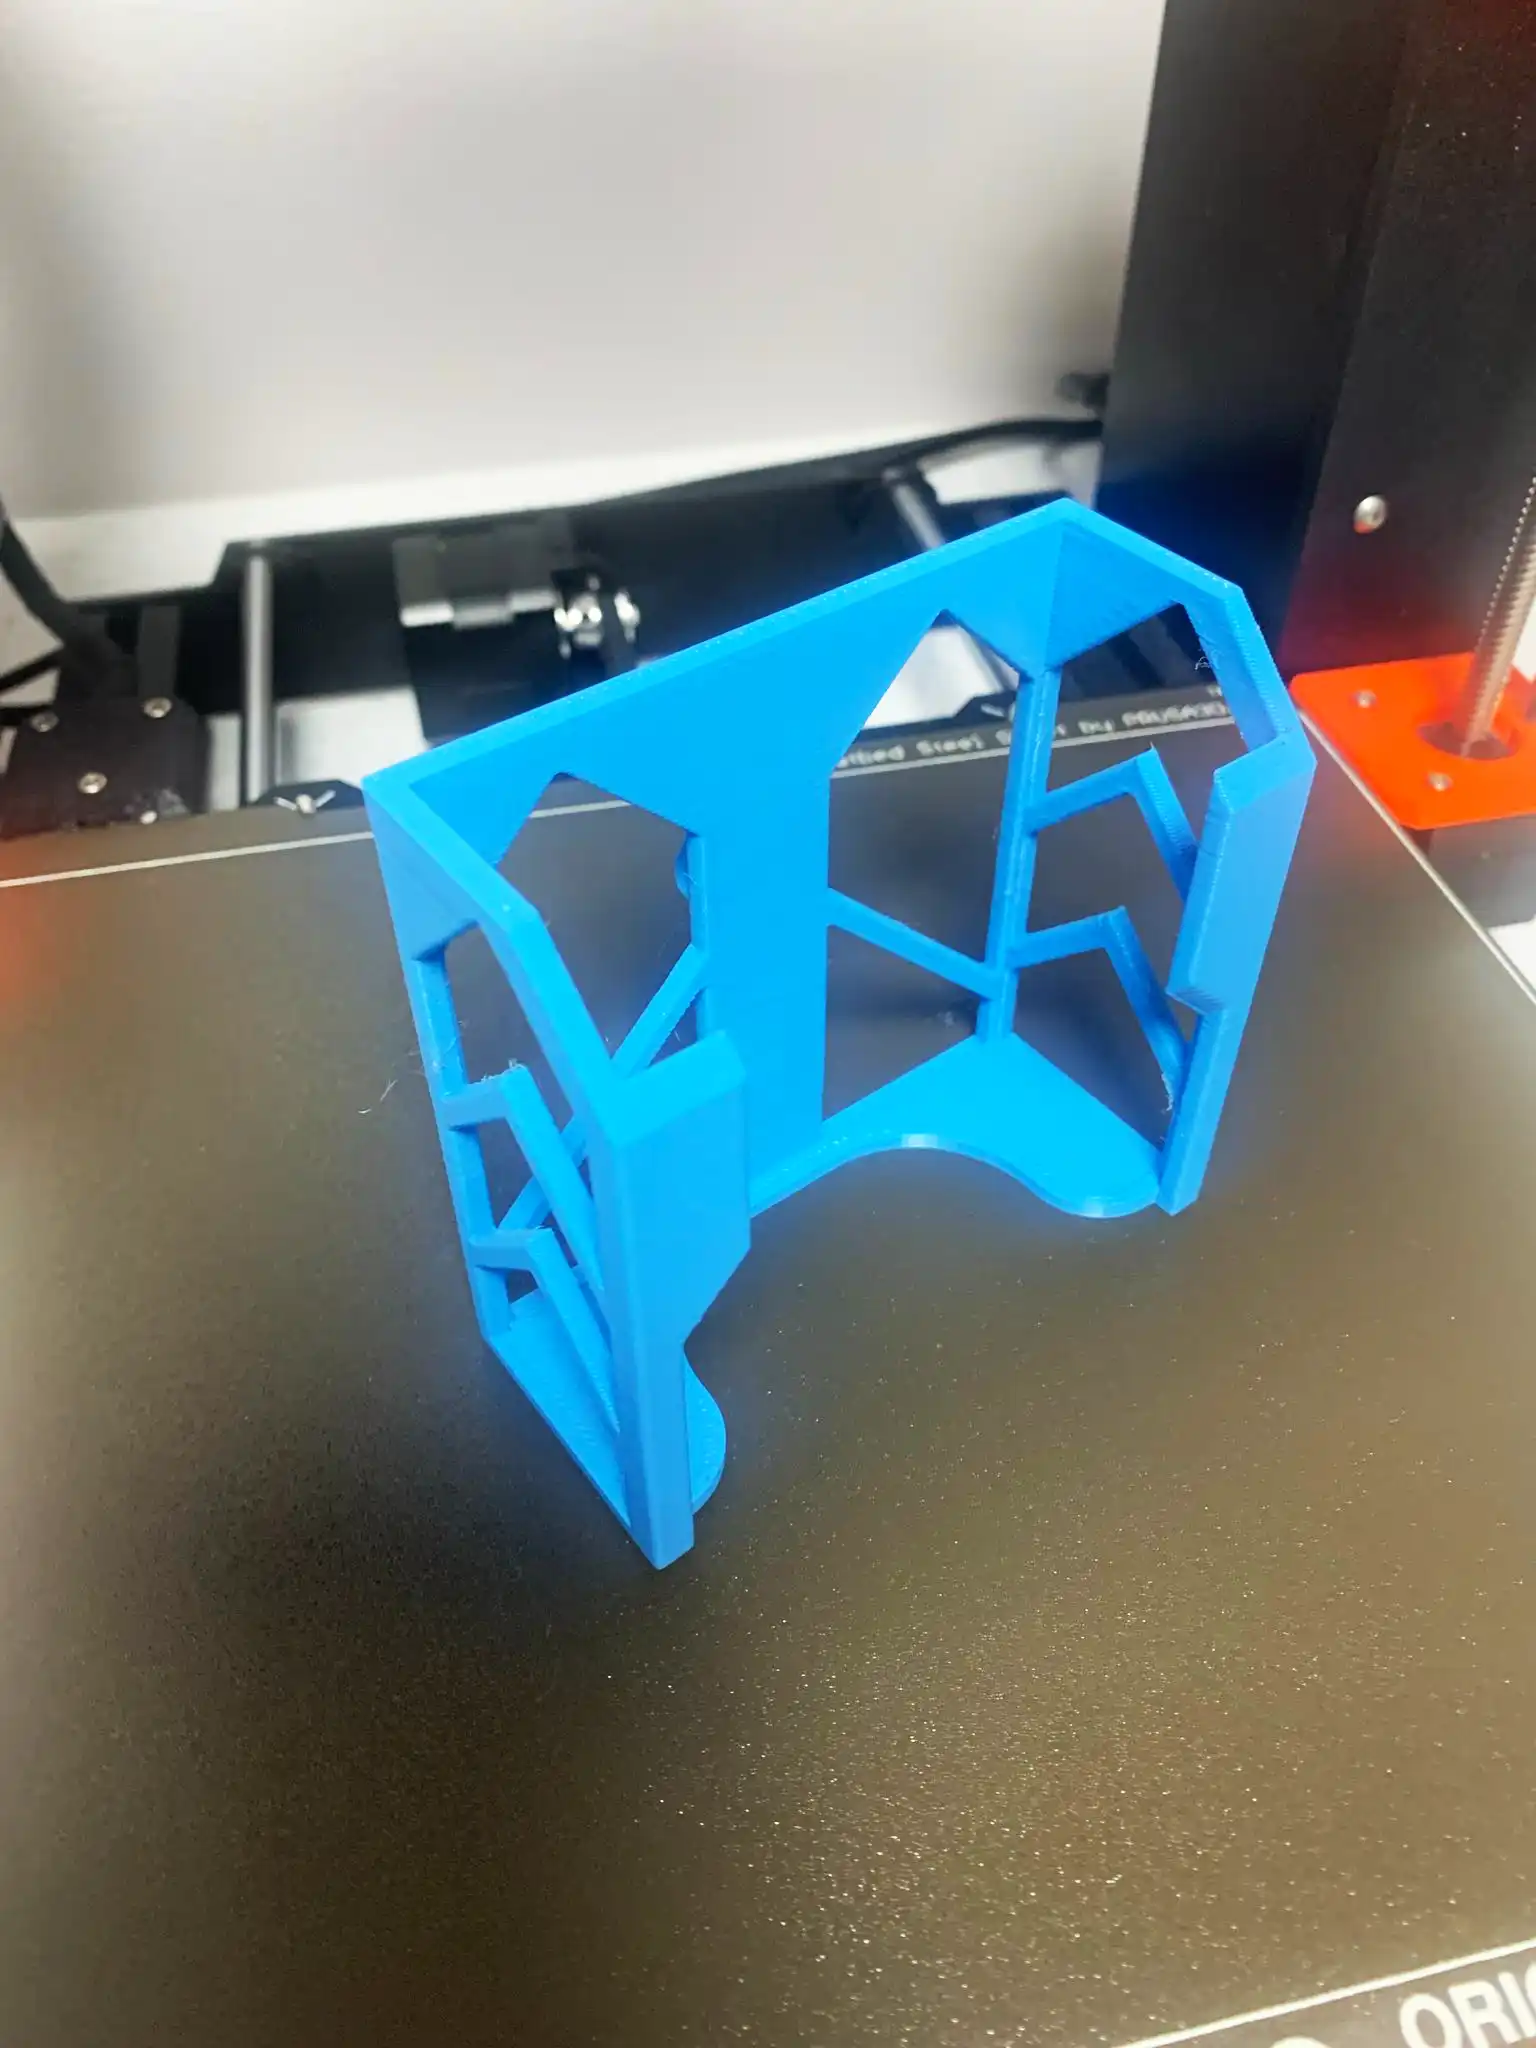
If you’ve read any of my previous blog posts, you will know that I am obsessed with saving filament. And so when I started looking for accessories to install on my honeycomb wall, I quickly found myself wanting to make some improvements to what I found in the wild. So I created a parametric design in Fusion360 and sized it for my multimeter. The results are presented below. Scroll down to the bottom to download the 3MF and the Fusion 360 parametric file. If you have Fusion360, you can resize the overall box to fit your meter, with minimal effort.

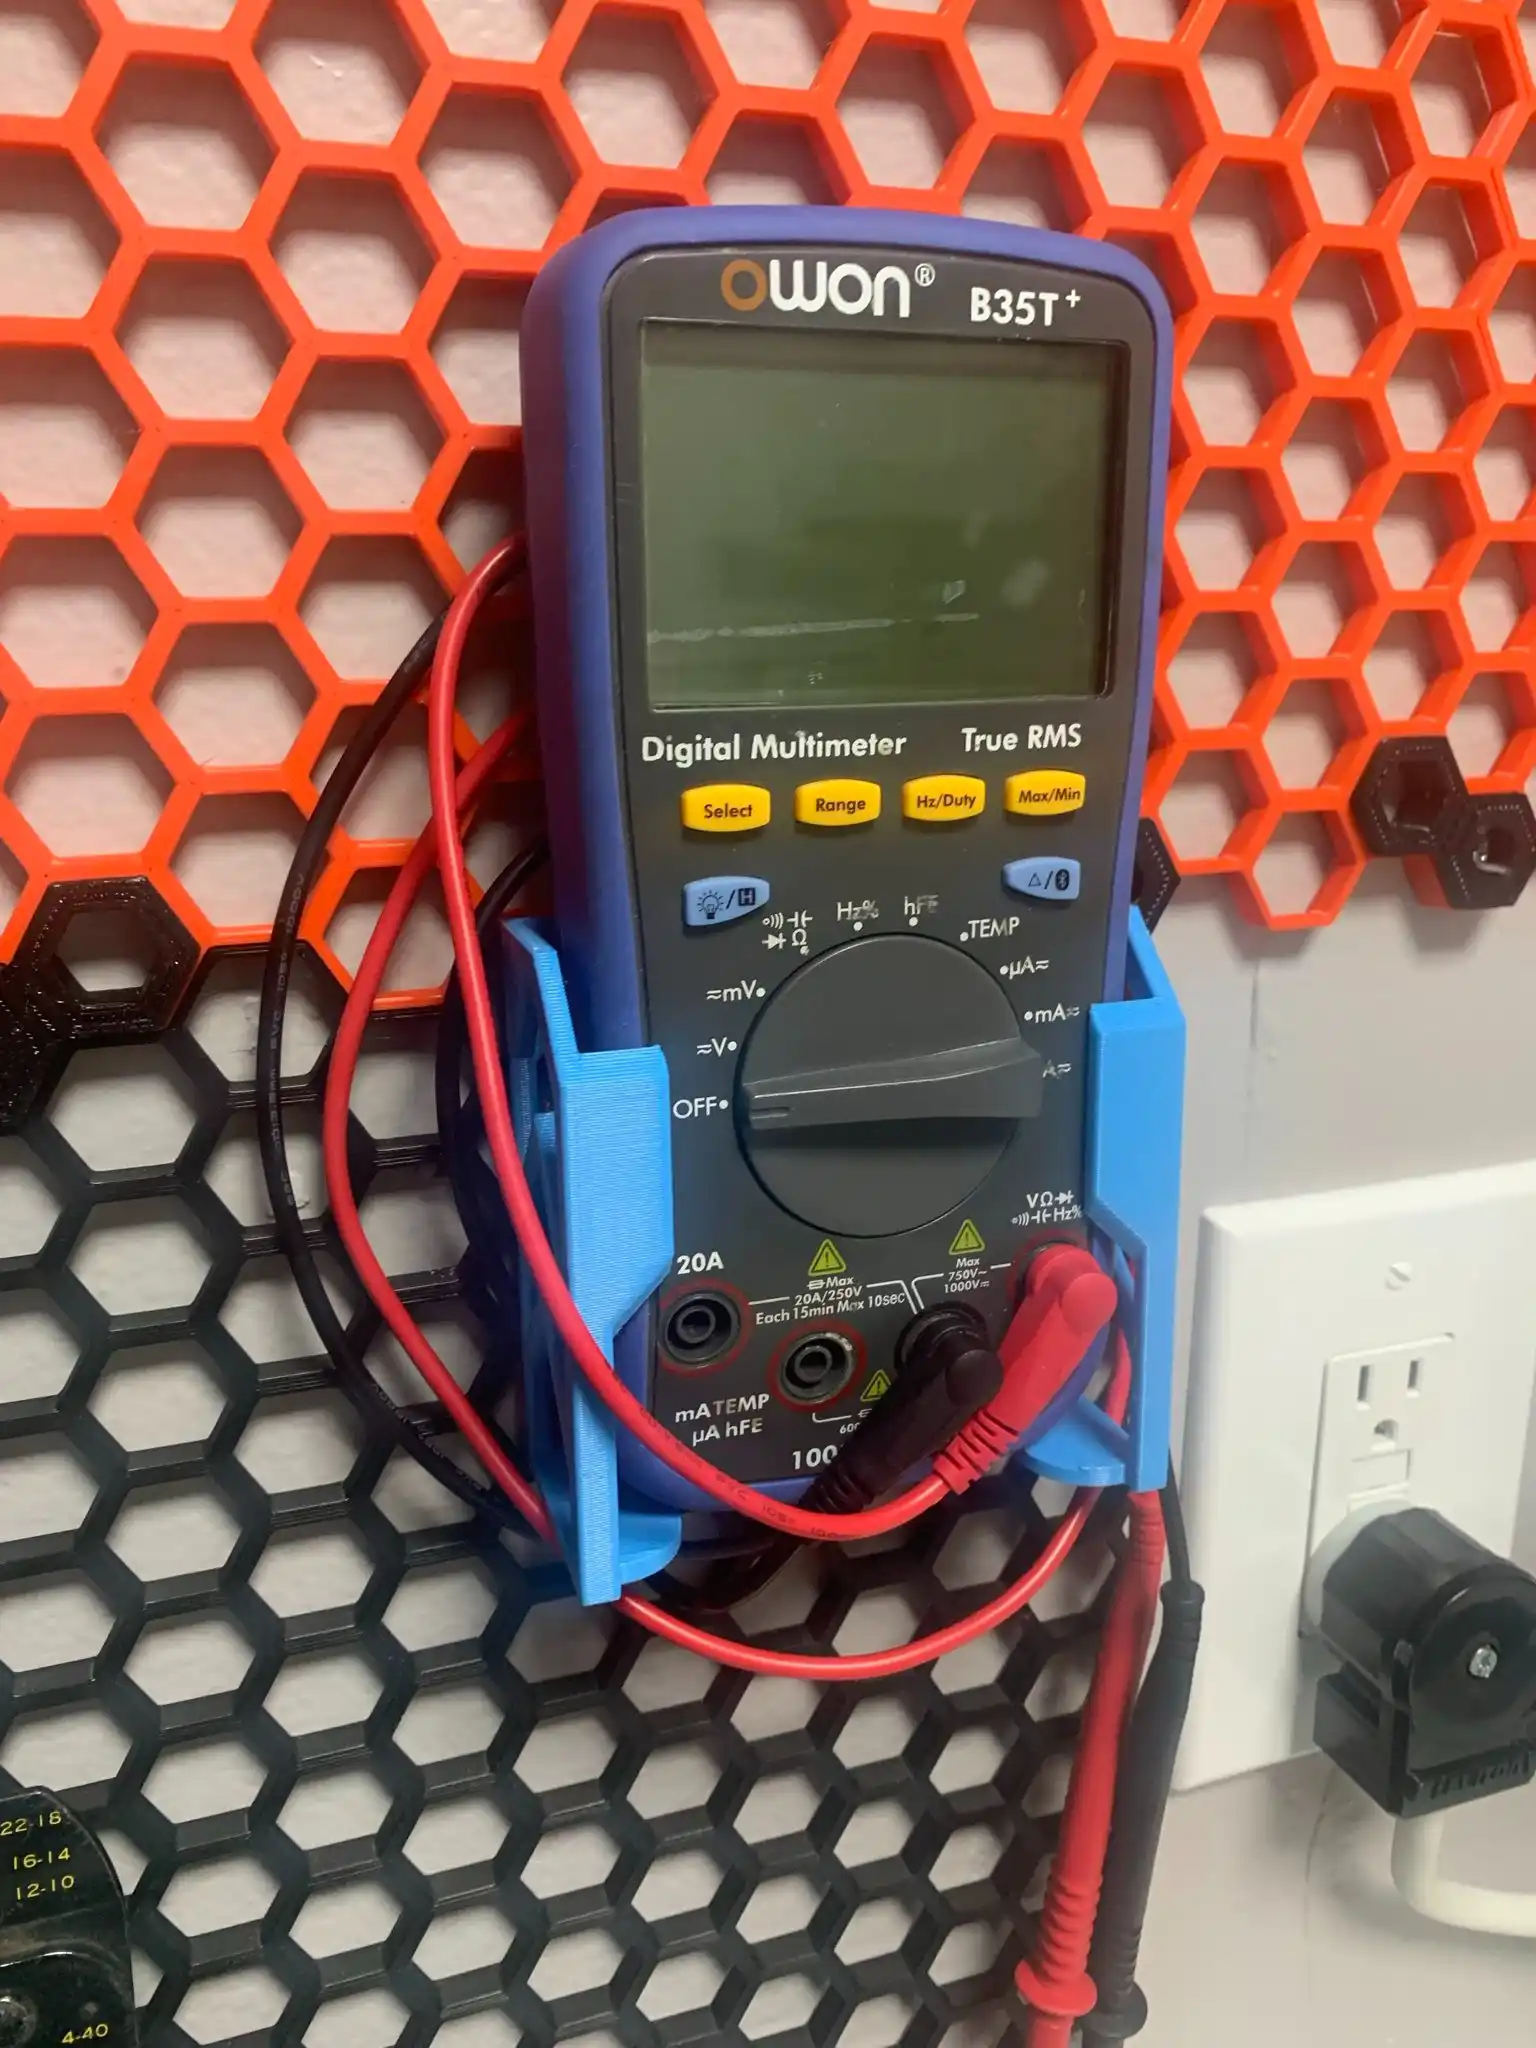
My first custom design is a wall mount for my Owon B35T+ multimeter. I’ve had this multimeter for a few years now and so far, it’s a workhorse. The B in B35T+ stands for bluetooth, which is one of the great features of this multimeter. It comes with a decent iPhone and Android app so you can use your phone as a graphing multimeter. It also comes with a temperature probe, which comes in handy too.
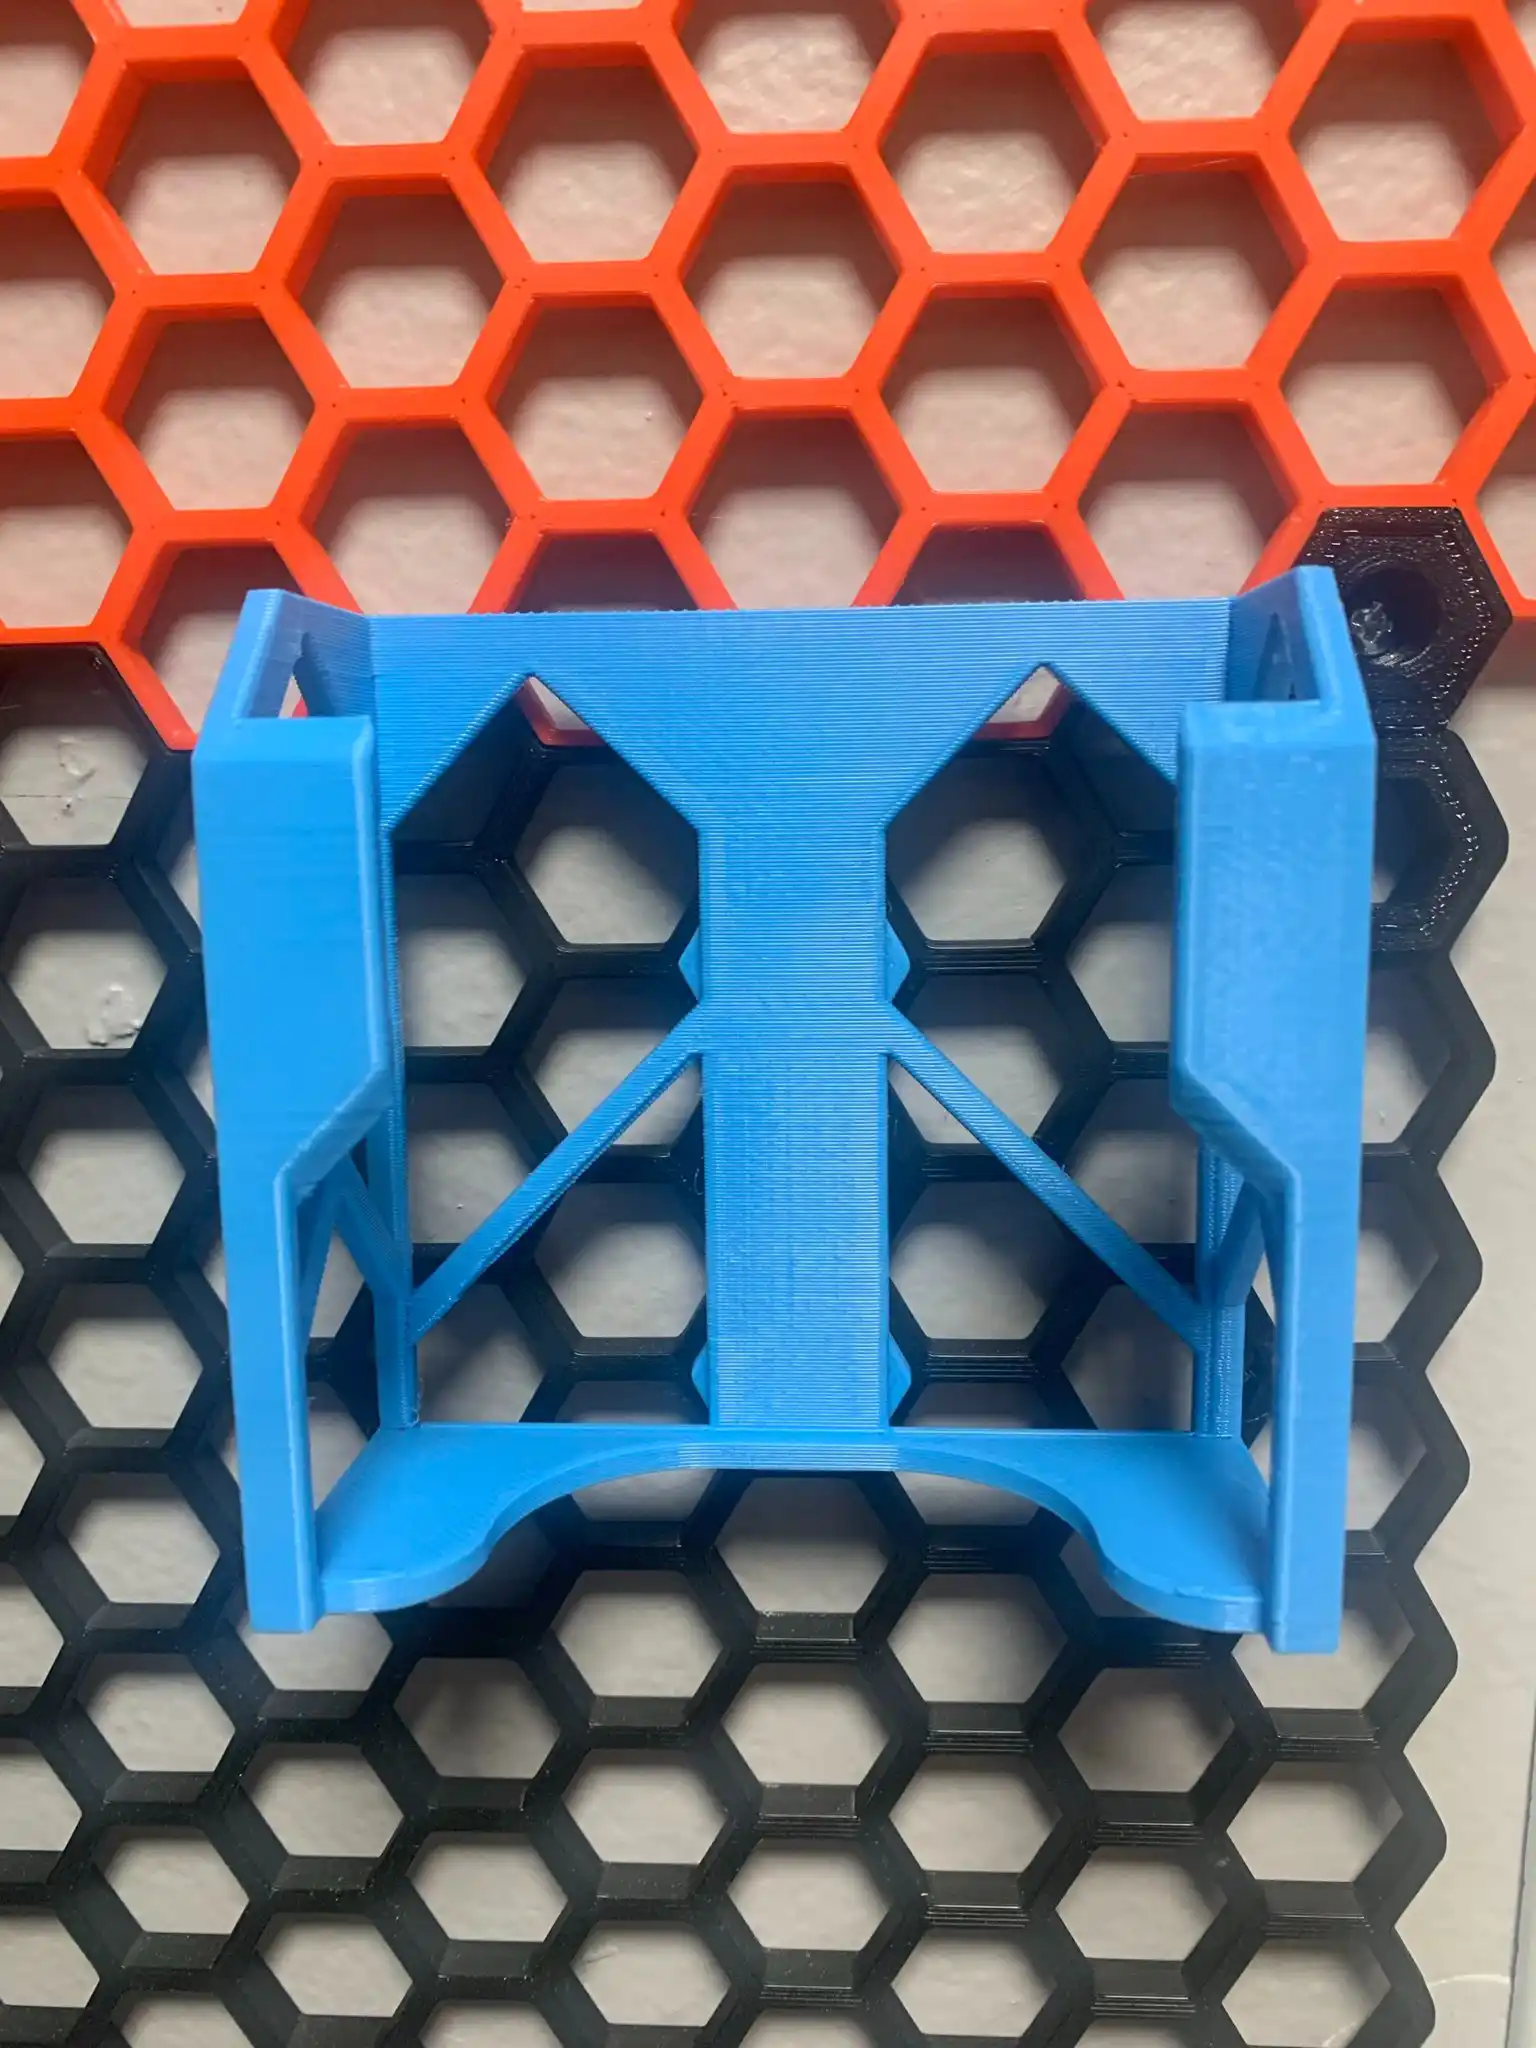
I downloaded an existing parametric model for a multimeter holder and adjusted it to fit the dimensions of my meter (88mm wide x 36mm deep). Besides just not liking the boxy proportions, it was clear I could improve the design to save a lot of filament. There was no need for a full-solid bottom, and on the vertical walls I could save a lot by creating a self-supporting space frame structure. Plus I wanted to make sure that all of the multimeter ports and controls were accessible so that everything was usable without having to take the meter out of the holder.
Chances are, if you're here, you play tabletop games. So hopefully you'll like Waddle Waddle, a brand new penguin-themed tabletop game that I created using photos of penguins that I took while in Antarctica. If you printed one of my 3D designs, please check out Waddle Waddle on GameFound.
Filament Savings

So how much filament did I save with the new design? The original design tipped the scales at 186g of filament, if printed at 100% infill. It has a lot of thick boxy parts, so 20% infill is a more reasonable setting, and brings the filament usage down to 92g.
The optimized design weighs in at a much lighter 40g, printed at 100% infill. There aren’t a lot of thick parts, so lowering the infill down to 20% only saves 2g of filament. The 2g savings comes at a cost of strength, so I recommend printing it at 100% infill.
Speaking of filament, I printed this with my new favorite filament IIIDMAX’s PLA+. Like PETG, PLA+ is more flexible than standard PLA. But PLA+ has the advantage of printing faster than PETG, and with quite a bit less stringing and blobbing. I also find the finish of PLA+ to be smoother than PETG. PLA+ also comes in a TON of great colors. All that AND a great price. I typically pay about $12/Kg, and sometimes as cheap as $10/Kg when they’re running a sale. Use my referral code and you’ll even save 5% off that price.
Print Times
What about print speed? Across the board, the optimized design prints about 20 to 30 minutes faster than the original. I printed my copy on my Mk3s with a 0.6mm nozzle and 0.4mm layer height.
| Printer | Nozzle Size | Layer Height | Print Time |
|---|---|---|---|
| Mk3s | 0.4mm | 0.3mm | 3 hr 20 min |
| Mk3s | 0.6mm | 0.4mm | 2 hr 30 min |
| XL | 0.6mm | 0.4mm | 1 hr 57 min |
| XL | 0.8mm | 0.55mm | 1 hr 33 min |
| Printer | Nozzle Size | Layer Height | Print Time |
|---|---|---|---|
| Mk3s | 0.4mm | 0.3mm | 3 hr 2 min |
| Mk3s | 0.6mm | 0.4mm | 2 hr 0 min |
| XL | 0.6mm | 0.4mm | 1 hr 33 min |
| XL | 0.8mm | 0.55mm | 1 hr 1 min |

Print Settings
On my Mk3s, this print came out great on the stock draft setting with a 0.6mm nozzle. I would definitely recommend PLA+ for this design. Because PETG is so flexible, it tends not to do as well on thin space-frame designs like this. You may see a bit more stringing than usual because of the thin extrusions. You can adjust your retraction and z hop settings to hopefully mitigate it.
Also definitely ensure your filament is nice and dry before printing by using a filament dryer. I use the EasyDry dryer from EIBOS. I like it because it has a central hub to support the filament roll, which I think works better for cardboard spools, which can hang up on dry boxes that have rollers on the bottom.
For any strings that do show up, I use the hot air gun from my NEWALCOLOX Rework Solder Station. It comes with several fine tips that make it easy to direct hot air at thin wisps of filament. It’s kind of soothing to watch them curl up.
Downloads
| Item | Download Link | |||
|---|---|---|---|---|
 |
|
|||
 |
|
This work is released under the CC-BY-NC-ND-4 International License
How To Support Me
Please check out Waddle Waddle, my penguin-themed tabletop game that's perfect for family game night. It's both fun AND educational. It's filled with dozens of great photos of penguins that I took while in Antarctica. It plays 2-6 players and is great for players 9 and up.
My designs are all designed to minimize filament usage, and that directly saves you MONEY, and many hours of print time. Most of these designs take two or three generations to perfect. You can show your thanks for me saving you money and many HOURS of your time making by a small donation to defray the cost of professional software licenses, printer wear and tear, and the filament I use to develop this content for you:
As an Amazon Associate I earn from qualifying purchases. By purchasing the products that I recommend through affiliate links you directly support the creation of more great content at no cost to yourself. I only recommend products that I use myself. You can read more about it here: Affiliate disclosure.

